Pallet Rack Installation Guide: Step-by-Step for Warehouses
August 5, 2026
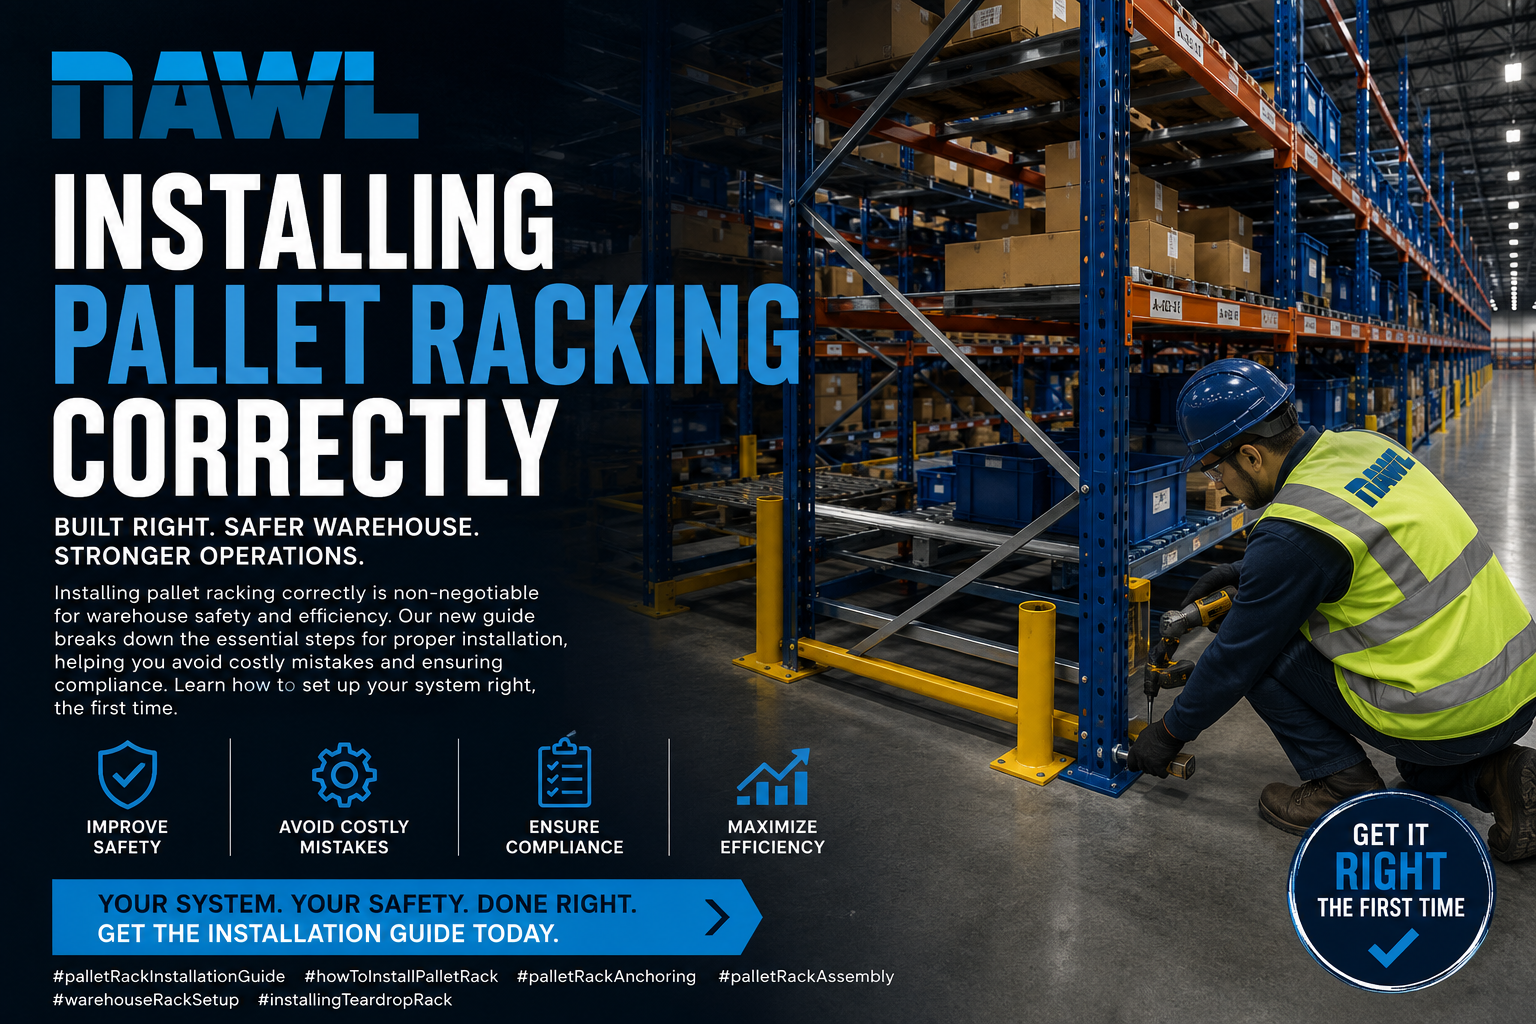
Proper pallet rack installation is critical for warehouse safety, operational efficiency, and regulatory compliance. Incorrect installation can lead to costly accidents, product damage, and downtime. This guide details the essential steps for safely and correctly installing pallet rack systems.
A good pallet rack installation guide should do more than show where parts fit together. It should help the project team verify the slab, confirm the layout, install anchors correctly, protect the rack from lift truck traffic, and document the finished system. Whether you are installing teardrop rack in a small warehouse or completing a multi-aisle warehouse rack setup, the same principle applies: the rack is only as safe as its design, installation, and day-to-day use.
The steps below assume the rack layout has already been designed and approved for the intended pallet sizes, load weights, lift equipment, aisle widths, and building conditions. If those items are not confirmed, stop before installation begins.
1. Site Preparation and Layout Verification
Before any physical installation begins, the installation area must be clear and level. Confirm that the floor slab can support the proposed loads from the rack system. Verify the layout against approved engineering drawings, ensuring column lines, fire suppression systems, and pedestrian walkways are accurately marked. Any discrepancies must be resolved before proceeding.
Start by walking the installation area with the rack drawings, a tape measure, chalk line, laser, and the project lead. Confirm building column locations, dock doors, electrical panels, emergency exits, floor drains, guard posts, sprinkler mains, and any areas where lift trucks must turn. Small layout changes in the field can create big problems later, especially if aisle widths shrink below what the lift equipment requires.
The slab deserves close attention. Pallet rack anchoring depends on sound concrete. Avoid placing anchors in cracked concrete, near slab edges, over control joints, or in areas where the slab is too thin for the specified embedment. If the slab condition is unknown, the building owner or engineer should verify thickness, strength, reinforcing, and any limitations before the rack is installed.
A basic pre-installation checklist should include:
| Item to verify | Why it matters |
|---|---|
| Approved rack layout | Prevents field guessing and keeps aisles, bays, and elevations consistent |
| Slab condition and thickness | Determines whether the anchor design can perform as intended |
| Fire suppression clearance | Helps maintain required sprinkler coverage and flue spaces |
| Building obstructions | Avoids conflicts with columns, doors, panels, piping, and drains |
| Pallet size and load weight | Confirms beam elevations, bay capacities, and load signs |
| Lift truck type | Confirms aisle width, turning radius, and rack protection needs |
| Component count | Prevents starting the job with missing beams, frames, anchors, pins, or shims |
Approved rack layout
- Why it matters
- Prevents field guessing and keeps aisles, bays, and elevations consistent
Slab condition and thickness
- Why it matters
- Determines whether the anchor design can perform as intended
Fire suppression clearance
- Why it matters
- Helps maintain required sprinkler coverage and flue spaces
Building obstructions
- Why it matters
- Avoids conflicts with columns, doors, panels, piping, and drains
Pallet size and load weight
- Why it matters
- Confirms beam elevations, bay capacities, and load signs
Lift truck type
- Why it matters
- Confirms aisle width, turning radius, and rack protection needs
Component count
- Why it matters
- Prevents starting the job with missing beams, frames, anchors, pins, or shims
Mark the rack row lines on the floor before standing frames. For selective pallet rack, installers commonly mark the front column line, bay spacing, row end locations, and aisle reference lines. Verify squareness by checking diagonals on longer runs. A rack row that starts slightly out of square can become difficult to align after several bays.
2. Assembling Frame Components
Frame assembly typically involves attaching horizontal and diagonal braces to upright columns. Follow manufacturer frame specifications for bolt torque and brace orientation. Ensure all connections are secure and the frames are square. This step is often performed on the ground for efficiency before standing the full frames.
Before assembly, stage components by size and profile. Match uprights, braces, footplates, beams, wire decking, row spacers, anchors, and hardware to the drawings. Do not assume similar-looking components are interchangeable. Different upright depths, post gauges, beam connector styles, and brace patterns can change capacity.
For bolted frames, use the specified hardware and tighten to the required torque. Under-tightened brace bolts can loosen during use, while over-tightening can damage hardware or distort members. Braces should be installed in the correct orientation and hole locations shown by the manufacturer. If a brace is missing, bent, drilled incorrectly, or does not line up, do not force it into place. Set it aside and resolve the issue before continuing.
Common frame assembly mistakes include:
- Installing diagonal braces in the wrong direction or hole pattern
- Mixing upright posts from different frame depths or capacities
- Using substitute bolts or washers not specified for the frame
- Standing frames before checking that the base plates sit flat
- Leaving shipping damage unreported until after the rack is loaded
During pallet rack assembly, inspect each upright for dents, twists, torn metal, damaged connector slots, and cracked welds. New material should still be checked during receiving and staging. If the jobsite is busy, components can be damaged by forklifts before installation even begins.
3. Erecting and Anchoring Upright Frames
Carefully stand the assembled upright frames into position according to the layout. Once in place, anchor the base plates to the concrete floor using manufacturer-specified anchor bolts. Refer to engineering drawings for anchor bolt strength, embedment depth, and torque requirements. Proper anchoring prevents frame movement and provides stability.
This is where a qualified pallet rack installer earns their keep. Frames are tall, heavy, and awkward to control. Use proper lifting methods, trained personnel, and temporary bracing as needed. Do not allow workers to stand under suspended frames or unsecured rack sections. Install enough beams early in the process to stabilize the bay before progressing down the row.
Anchor installation should follow the anchor manufacturer’s instructions and the rack engineering requirements. In general, this means drilling the correct hole diameter, drilling deep enough for the required embedment, cleaning the hole, placing the anchor through the base plate, and tightening it to the specified torque. Hole cleaning matters. Dust left in the hole can reduce anchor performance.
Key pallet rack anchoring considerations include:
| Anchor item | Installation consideration |
|---|---|
| Diameter | Must match the engineered design and base plate hole requirements |
| Embedment | Must meet the specified depth after accounting for base plate and shims |
| Edge distance | Anchors too close to slab edges or joints may not develop capacity |
| Hole cleaning | Concrete dust should be removed before anchor setting |
| Torque | Use the specified torque, not guesswork with an impact wrench |
| Damaged holes | Do not reuse failed or oversized holes without engineering direction |
Diameter
- Installation consideration
- Must match the engineered design and base plate hole requirements
Embedment
- Installation consideration
- Must meet the specified depth after accounting for base plate and shims
Edge distance
- Installation consideration
- Anchors too close to slab edges or joints may not develop capacity
Hole cleaning
- Installation consideration
- Concrete dust should be removed before anchor setting
Torque
- Installation consideration
- Use the specified torque, not guesswork with an impact wrench
Damaged holes
- Installation consideration
- Do not reuse failed or oversized holes without engineering direction
If an anchor hits rebar, breaks out concrete, spins in the hole, or cannot be torqued, stop and get direction from the engineer or manufacturer. Moving an anchor location slightly may seem minor, but it can affect base plate performance and rack stability. The same applies to adding field-drilled holes to base plates. Do not modify structural rack components without approval.
4. Plumbing and Leveling the Rack System
Once anchored, the upright frames must be plumbed (vertically aligned) and leveled. Use shims under the base plates to achieve plumb and level conditions. This ensures that the rack system distributes loads evenly and that beams seat correctly. Out-of-plumb racks can experience premature wear and structural instability.
Plumb should be checked in both down-aisle and cross-aisle directions. A laser level, transit, plumb bob, or long level can be used depending on the job size. Check more than one point on tall frames. A frame can appear acceptable at the base and still lean at the top if the slab is uneven or the row was pulled out of alignment during beam installation.
Shims should be steel and sized to support the full bearing area required under the base plate. Avoid stacking loose, undersized shims that can shift. After shimming, confirm the anchors still achieve the required embedment and torque. Excessive shim height may require engineering review or a different correction method.
Also check row straightness. Beams should run in a clean line, and uprights should not wander into the aisle. Poor row alignment increases the chance of forklift impacts and makes pallet placement harder for operators. For back-to-back rows, install row spacers where required by the drawings. Row spacers help maintain spacing between rows and improve stability, but they must be installed at the specified elevations and locations.
A useful worked example: if a 24-foot upright is visibly leaning toward the aisle at the top, the issue is not cosmetic. Pallet loads will not sit as intended, beam connectors may not seat evenly, and forklift operators may lose usable clearance. Correcting the plumb before loading is faster and cheaper than unloading a full row later.
5. Installing Beams and Safety Pins
Install the load beams into the upright connectors, ensuring they are fully engaged. Immediately secure each beam with compliant safety pins, clips, or locking mechanisms as specified by the manufacturer. These pins prevent accidental beam dislodgement, which is a common cause of rack failure.
For installing teardrop rack, beam connectors should drop fully into the upright slots. The beam should sit flush and level, with both ends installed at the same elevation unless the engineered design says otherwise. Never hammer a connector into place in a way that deforms the upright or beam end plate. If a beam does not seat, check for debris, damaged slots, bent connectors, or incompatible components.
Install safety pins as each beam is placed, not at the end of the day. A beam without pins can be lifted out by a pallet, forklift mast, or accidental upward impact. Pins, clips, or integral locks must match the rack design. Nails, bolts, wire, or other field substitutes are not acceptable replacements unless specifically approved.
Beam installation is also the right time to verify elevations. Compare actual beam levels to the layout and to pallet load heights. Include pallet height, product overhang, sprinkler clearance, and lift truck lift height. If wire decking, pallet supports, or drum cradles are part of the system, install them according to the approved layout and make sure they are properly seated. Wire deck waterfalls should fit over the beam faces without rocking or riding up.
Before loading, confirm that each bay matches its intended use. A bay designed for two pallets of a certain weight should not be reassigned in the field to heavier pallets without checking the load ratings. Beam capacity, frame capacity, slab capacity, and configuration all work together.
6. Final Inspection and Load Signage
After all components are installed, conduct a thorough final inspection. Verify all connections are secure, anchoring is complete, and the system is plumb and level. Conspicuously post load plaques or load capacity signs on each aisle, detailing maximum bay, beam, and unit load ratings. This is a crucial safety and compliance requirement.
A final rack installation checklist should be documented before the system is released for use. The checklist does not replace engineering approval, but it helps confirm the installed rack matches the approved drawings and manufacturer requirements.
| Final inspection point | What to look for |
|---|---|
| Layout | Row locations, bay spacing, aisle widths, and beam elevations match drawings |
| Anchors | Required anchors installed, seated, and torqued where specified |
| Plumb and level | Uprights corrected with proper shims and aligned in both directions |
| Beam seating | Connectors fully engaged with safety pins or locks installed |
| Components | No damaged uprights, beams, braces, welds, decks, or supports |
| Accessories | Row spacers, pallet supports, decking, guards, and end protection installed as designed |
| Load signage | Capacity plaques posted clearly and matched to the rack configuration |
| Housekeeping | Loose hardware, debris, and trip hazards removed from aisles |
Layout
- What to look for
- Row locations, bay spacing, aisle widths, and beam elevations match drawings
Anchors
- What to look for
- Required anchors installed, seated, and torqued where specified
Plumb and level
- What to look for
- Uprights corrected with proper shims and aligned in both directions
Beam seating
- What to look for
- Connectors fully engaged with safety pins or locks installed
Components
- What to look for
- No damaged uprights, beams, braces, welds, decks, or supports
Accessories
- What to look for
- Row spacers, pallet supports, decking, guards, and end protection installed as designed
Load signage
- What to look for
- Capacity plaques posted clearly and matched to the rack configuration
Housekeeping
- What to look for
- Loose hardware, debris, and trip hazards removed from aisles
Load signage should be easy for operators and supervisors to see. If a facility uses multiple rack profiles or bay capacities, signs should clearly identify the limits for each area. Overloading is often not intentional. It happens when rack capacity is unclear, pallet weights change, or beam levels are moved without updating capacity information.
After installation, train operators not to climb rack, strike uprights, drag pallets across beams, or place damaged pallets into storage. Supervisors should know how to report impacts and when to remove a bay from service. A rack safety install is not complete until the people using the system understand its limits.
Why Dealers Choose NAWL Quick Ship
NAWL supports our dealer network with readily available pallet rack systems from our Venus, TX, facility. This quick-ship capability allows dealers to meet tight project deadlines and minimize lead times for their clients. Our focus on quality manufacturing and efficient distribution ensures dealers can reliably provide robust storage solutions with confidence. Request a quote to check current stock and lead times.
For dealers, lead time can decide whether a project stays on schedule. Rack installation crews, lift equipment, concrete work, fire inspections, and customer move-in dates are often coordinated weeks in advance. If material is delayed, labor sits idle and the end user loses storage capacity. Quick-ship stock helps dealers respond when a customer needs selective rack, replacement components, or added bays without waiting on a long production cycle.
NAWL installation support is practical: consistent rack components, clear product information, and responsive stock checks for dealers planning jobs. Before quoting an installation, dealers should confirm upright height and depth, beam length and capacity, frame quantity, anchor requirements, decking or pallet support needs, and any accessories such as row spacers or column protection. The cleaner the bill of materials, the smoother the install.
Cost is also affected by preparation. A well-planned job reduces change orders, return trips, missing hardware runs, and time spent correcting layout errors. The lowest material price does not always produce the lowest installed cost if components arrive late, drawings are unclear, or the installer must solve preventable problems in the field.
FAQ
What tools are essential for pallet rack installation?
Essential tools include a tape measure, level, plumb bob, wrench set (often impact wrenches for speed), hammer drill for anchor bolts, and shims. Larger jobs may also require a laser level, chalk line, torque wrench, lifts, temporary bracing, concrete cleaning tools, and personal protective equipment.
How often should pallet rack systems be inspected after installation?
Rack systems should be subject to regular inspections, typically quarterly or annually, and immediately after any impact or damage is observed, in accordance with RMI standards. High-traffic warehouses may need more frequent visual checks by supervisors or maintenance staff.
Is professional engineering approval required for pallet rack layouts?
Yes, all pallet rack installations should be designed and approved by a qualified engineer to ensure structural integrity and compliance with local building codes, especially regarding seismic activity. Engineering is especially important when beam levels, load weights, rack height, or building conditions change.
What is the importance of load capacity signs on a rack system?
Load capacity signs are legally required in most jurisdictions and are critical for preventing overloading, which can lead to catastrophic rack failure and severe injury. Signs should reflect the actual installed configuration, not a generic capacity that ignores beam spacing or pallet weight.
Can I mix components from different pallet rack manufacturers?
Mixing components from different manufacturers is generally not recommended due to variations in design, fit, and load ratings, which can compromise system integrity and void warranties. If mixed components are already in a facility, have the configuration reviewed before adding load.
What causes pallet rack systems to be out of plumb?
Racks can be out of plumb due to uneven floor slabs, improper shimming during installation, or impacts from material handling equipment. Correcting this is vital for rack stability. Repeated impact damage may also indicate aisle width, traffic flow, or rack protection problems that need attention.