Measure Replacement Pallet Rack Beams Correctly
October 30, 2026
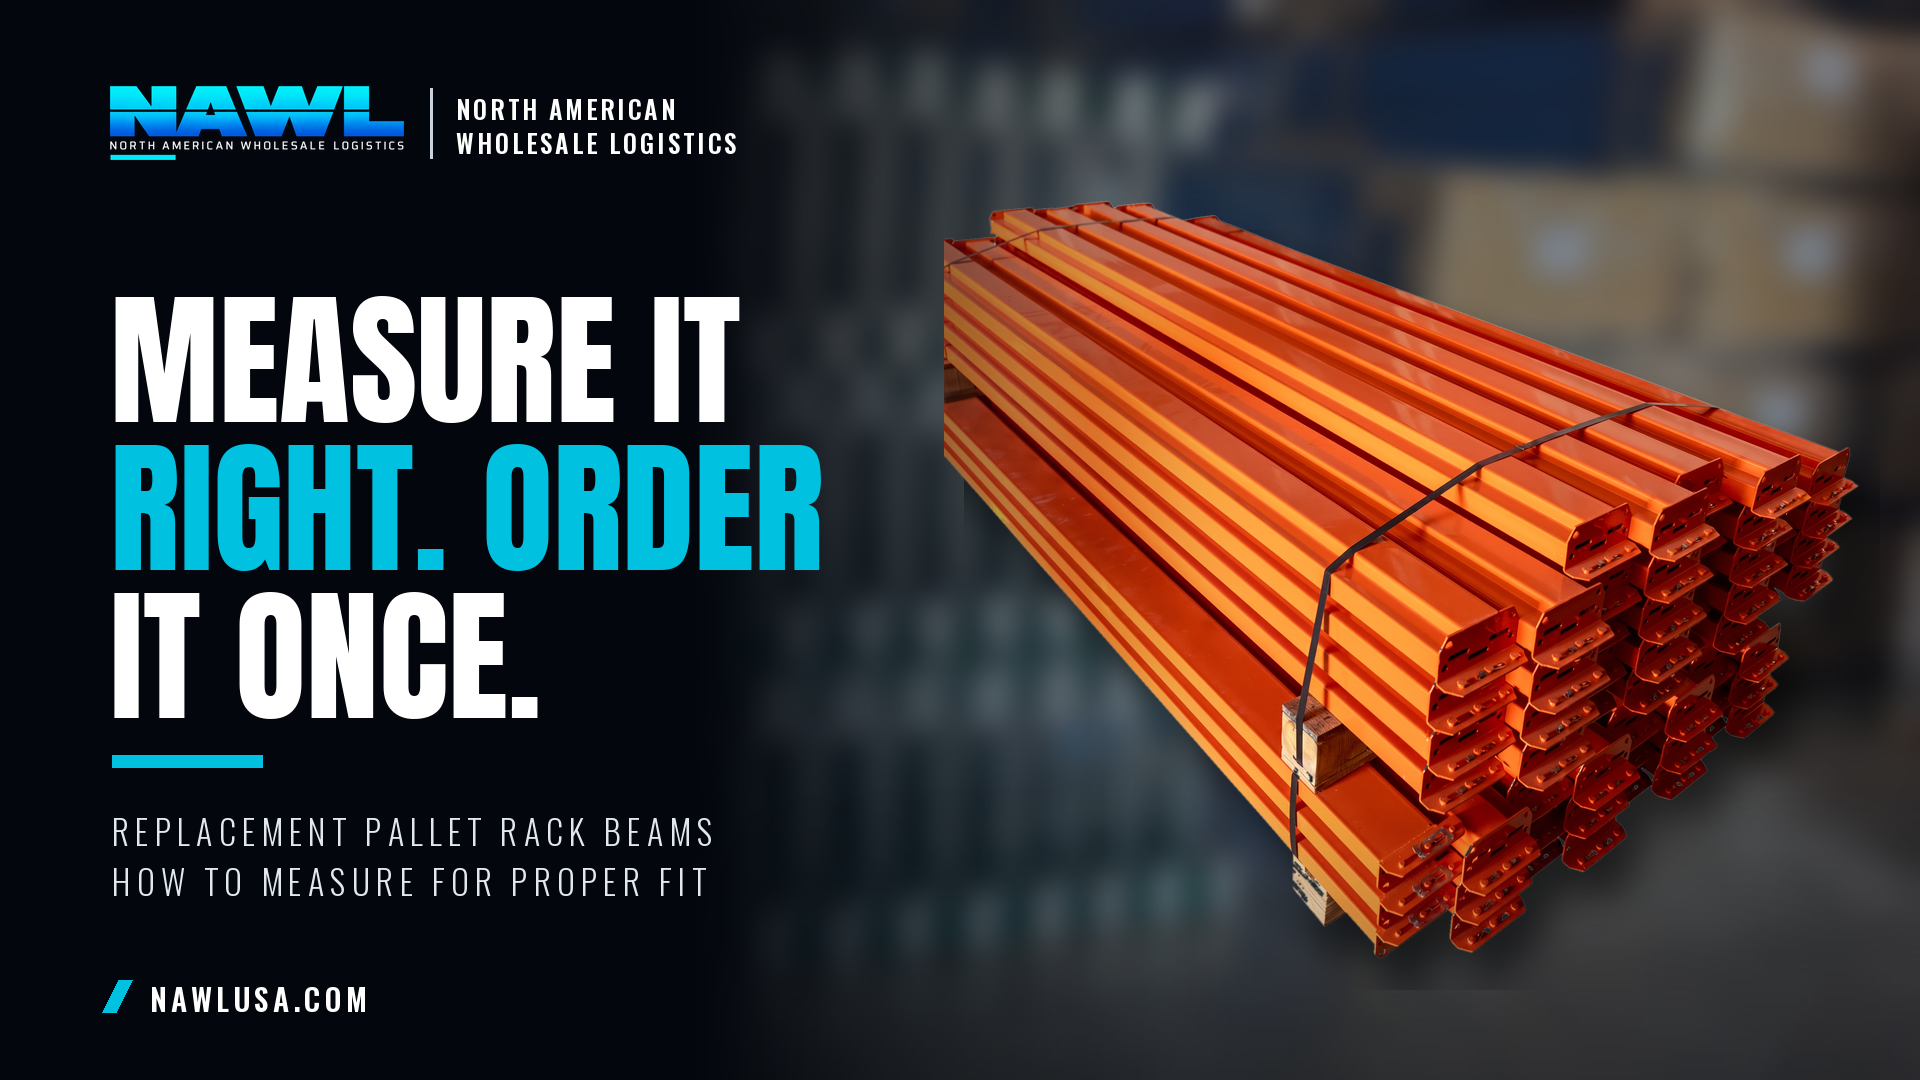
In a busy warehouse, damaged pallet rack beams are an unavoidable reality. From forklift impacts to overloading, beams take a beating. When it comes time to replace them, getting the measurements right is critical. An incorrectly sized beam is not just an inconvenience; it's a safety hazard and a compliance risk.
This guide will walk you through the precise steps to measure replacement pallet rack beams for your existing system. This isn't about sizing a new rack; it's about accurately identifying the dimensions and specifications of your current damaged components to ensure a perfect, safe fit. Whether you're in the DFW area or anywhere else, these field measurement techniques are universal.
Why Accurate Measurement is Non-Negotiable
Replacing a pallet rack beam might seem straightforward, but there are nuances. Pallet rack systems are designed with specific tolerances and load capacities. Introducing a beam that is too short, too long, or has an incompatible connector type can compromise the entire structure. This can lead to:
- Structural Instability: An improper fit can weaken the rack's integrity, increasing the risk of collapse.
- Reduced Load Capacity: Beams that don't sit correctly or aren't designed for the system's intended loads will fail prematurely.
- Compliance Violations: OSHA and other regulatory bodies have strict guidelines for rack safety. Noncompliant repairs can result in fines and operational shutdowns.
- Operational Delays: Waiting for the correct replacement parts after receiving the wrong ones costs time and money.
Before you even consider ordering Products, take the time to accurately assess your current setup.
Tools You'll Need
Before you start, gather these essential tools:
- Steel Tape Measure: A 25-foot or 30-foot tape measure with a sturdy hook is ideal for accuracy.
- Calipers (Optional, but Recommended): Useful for precise measurements of connector pins or beam face height.
- Camera or Smartphone: For documenting the existing rack, connectors, and any identifying marks.
- Flashlight: To better see inside beam connectors or dark areas.
- Notepad and Pen: To record all measurements and observations.
- Safety Gear: Hard hat, safety glasses, and gloves are always recommended in a warehouse environment.
Step-by-Step Measurement Guide
Follow these steps meticulously to ensure you gather all necessary information.
Step 1: Measure Beam Length (Overall Length and Clear Span)
This is often where mistakes are made. There are two critical length measurements.
- Overall Length: Measure from the absolute outside edge of one beam end plate (where it connects to the upright) to the absolute outside edge of the other beam end plate. This is your most direct measurement for replacement. Record this in inches.
- Clear Span: This is the distance between the inside faces of the two upright frames that the beam connects to. Measure the open space the pallets sit within. While not directly used for ordering a beam, it confirms your overall length measurement and helps verify the system's design capacity. (For more on clear span and its impact, see our post on choosing beam length).
Important: Do not measure an old, bent, or damaged beam directly if you can help it. If possible, measure an identical, undamaged beam elsewhere in the system. If only damaged beams are available, measure the overall length carefully, noting any deformation.
Step 2: Identify Beam Type and Dimensions
Pallet rack beams come in various shapes and sizes, each designed for specific load capacities.
- Beam Face Height: Measure the vertical height of the beam's front face. This is critical for load-bearing. Common heights include 3.5 inches, 4 inches, 5 inches, and 6 inches, but others exist. Record this precisely.
- Beam Depth (Front to Back): Measure the depth of the beam section from the front face to the back. This, along with face height, determines the beam's strength profile.
- Beam Style: Note if it's a step beam (most common, with a step for wire decking or pallet supports) or a box beam. Measure the height of the step if present.
Step 3: Document the Connector Type
This is perhaps the most crucial and often overlooked detail. Different manufacturers use different connection styles. A beam from one manufacturer will almost certainly not fit an upright from another, even if the length is correct.
- Number of Pins: Count how many pins or studs extend from the beam end plate to connect into the upright's punched holes. Common counts are 2, 3, or 4 pins.
- Pin Spacing (Vertical): Measure the distance between the center of one pin and the center of the next pin, vertically. Be precise.
- Pin Shape and Size: While less common, note if pins are unusual in shape (e.g., round, teardrop) or if they appear to have a specific diameter. Snap a clear photo.
- Upright Punch Pattern: Observe the hole pattern on the upright. Are they teardrop, square, round, or a proprietary shape? This is a key identifier. Take multiple clear, close-up photos of the beam end plate and the upright's punched holes.
- Safety Clip/Locking Mechanism: Note the type of safety clip or locking device used to secure the beam to the upright. This could be a spring clip, a drop-in pin, or an integrated tab.
Step 4: Check for Manufacturer Identification (If Possible)
Many rack components have stamps, stickers, or embossed markings that indicate the manufacturer, model, or load capacity. Look for these on the beams and uprights.
- Manufacturer Name/Logo: This is the easiest way to ensure compatibility. Look on the face of the beam, the end connectors, or the uprights.
- Part Number: If you find a part number, record it. This can expedite the ordering process significantly.
- Load Chart: If you find a load chart on the rack, photograph it. This will help us verify the appropriate beam capacity for your replacement.
What to Do with Your Measurements
Once you have all these details recorded, you're ready to reach out to a reputable supplier like NAWL. Provide us with your detailed measurements, photos of the beam connectors and upright punch patterns, and any manufacturer identification you found. This information allows us to accurately identify and source the correct Products for your system.
We specialize in quick-ship rack components and can help you navigate the complexities of replacing damaged parts, especially if you're managing a fast-paced operation in DFW or across the country.
Conclusion
Measuring for replacement pallet rack beams is a critical step that impacts the safety, efficiency, and longevity of your warehouse storage system. Don't guess; measure accurately and document everything. With the right information, you can ensure your replacement beams integrate seamlessly and maintain the structural integrity of your operation.
Need to measure replacement pallet rack beams? Have your measurements ready? Request availability or get a quote today. Our experts are standing by to assist you in finding the right solution.