Setting Cantilever Arm Levels in 4-Inch Increments
October 31, 2026
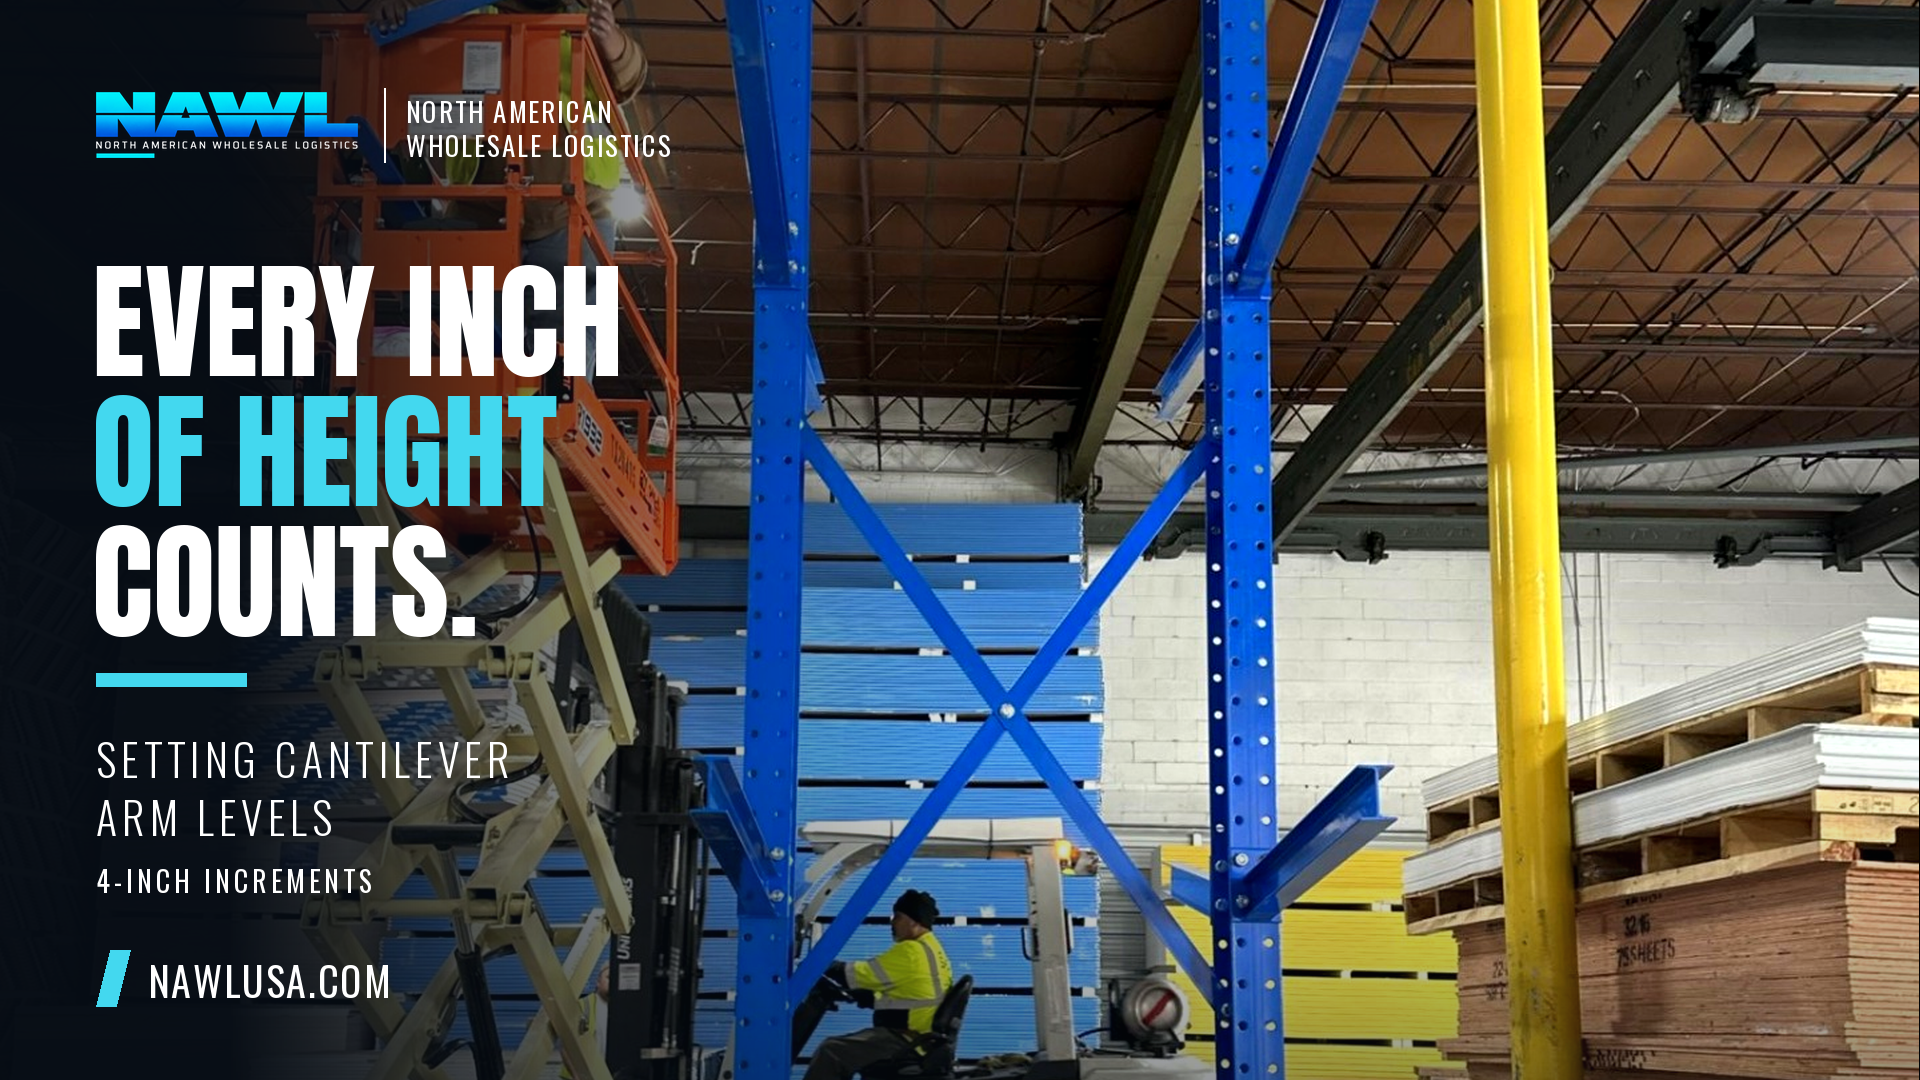
NAWL's stock cantilever arms bolt onto columns and adjust in 4-inch vertical increments. To set a level, measure your tallest bundle, add handling clearance and the arm's own depth, then round up to the next 4-inch step. That gives you the tightest spacing that still lets you load and unload without scraping.
Level spacing looks minor, but across a 12- or 16-foot column it decides whether you get four levels or five.
How do you calculate level spacing?
- Measure the tallest bundle or stack that will sit on that level
- Add clearance so the forklift or sideloader can slide it on and off, a hand's breadth or more depending on your equipment
- Add the arm's own depth, which you can confirm on your quote
- Round the total up to the next multiple of 4 inches
- Set the arm at that spacing above the one below
Example: a stack 20 inches tall plus 6 inches of clearance is 26 inches before the arm depth. Add the arm depth, then round up to the next 4-inch step. The result becomes the spacing for that level.
Why use different spacing per level?
Not all levels carry the same stock. Heavy, tall bundles belong low and need more room. Small, light bundles can sit on closer levels higher up. Mix spacing to get more levels without crowding anything. See load placement on cantilever rack.
How does column height change the count?
A 12-foot column gives fewer levels than a 16-foot column at the same spacing. If your stock is tall, the shorter column may only fit three levels. See 12-foot vs. 16-foot stock columns. Remember that higher levels need a truck that can place loads safely at that height.
What about capacity as levels go up?
More levels do not add capacity once the column is the limit. Check the arm total against the per-side column rating. The worked example on capacity per side shows how.
What about sloped or uneven yards?
Outdoor columns that settle can shift arm levels out of true. A level that looks fine in July can tilt after a freeze-thaw cycle. See freeze-thaw, slab cracks and keeping bases plumb and check levels in spring. See spring thaw inspection for outdoor cantilever rack.
How do I keep levels consistent across a run?
- Use the same spacing on matching levels across all columns in a bay row
- Mark the heights on the column with paint or tape
- Record the spacing in a simple chart for your crew
- Recheck after any impact or move
Consistency matters because long stock rests on several columns at once. If one arm sits higher than its neighbors, the load rocks or sags.
What about arm spacing along the row?
Spacing along the row, from column to column, depends on how stiff your stock is. Flexible stock needs closer support. See fence post and rail storage and aluminum extrusion storage.
Who sets the arms?
Your crew or an installer sets and tightens arms to the manufacturer's instructions. NAWL supplies cantilever rack and components and does not install. Torque and pin the connections exactly as instructed, and recheck after the first loaded week.
What mistakes waste space?
- Setting every level to the tallest bundle in the yard, instead of by level
- Rounding down to save an inch, then scraping the arm above on every load
- Forgetting that snow on outdoor stock adds height in winter
- Moving arms without recording the new spacing
- Leaving arms uneven across a run, so long stock rocks
A short chart posted at the end of each row, with the spacing for each level, fixes most of these. Update it any time you move an arm, and walk the run after any reset. In a yard, check the top level in particular after heavy snow, since drifting can add several inches against the stock.
Frequently asked questions
Can I adjust arms later? Yes, in 4-inch steps. Unload the arm first.
Do I need to unload to move an arm? Yes. Never move a loaded arm.
What if my spacing falls between steps? Round up, not down.
Planning arm levels?
Send your tallest bundle and column height, and we will suggest a level layout from stock arms.